generic-Auger-Throttle
Created: 2020.07.10
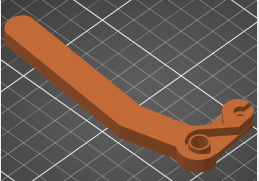
Replacement throttle for a generic Chinese dirt auger
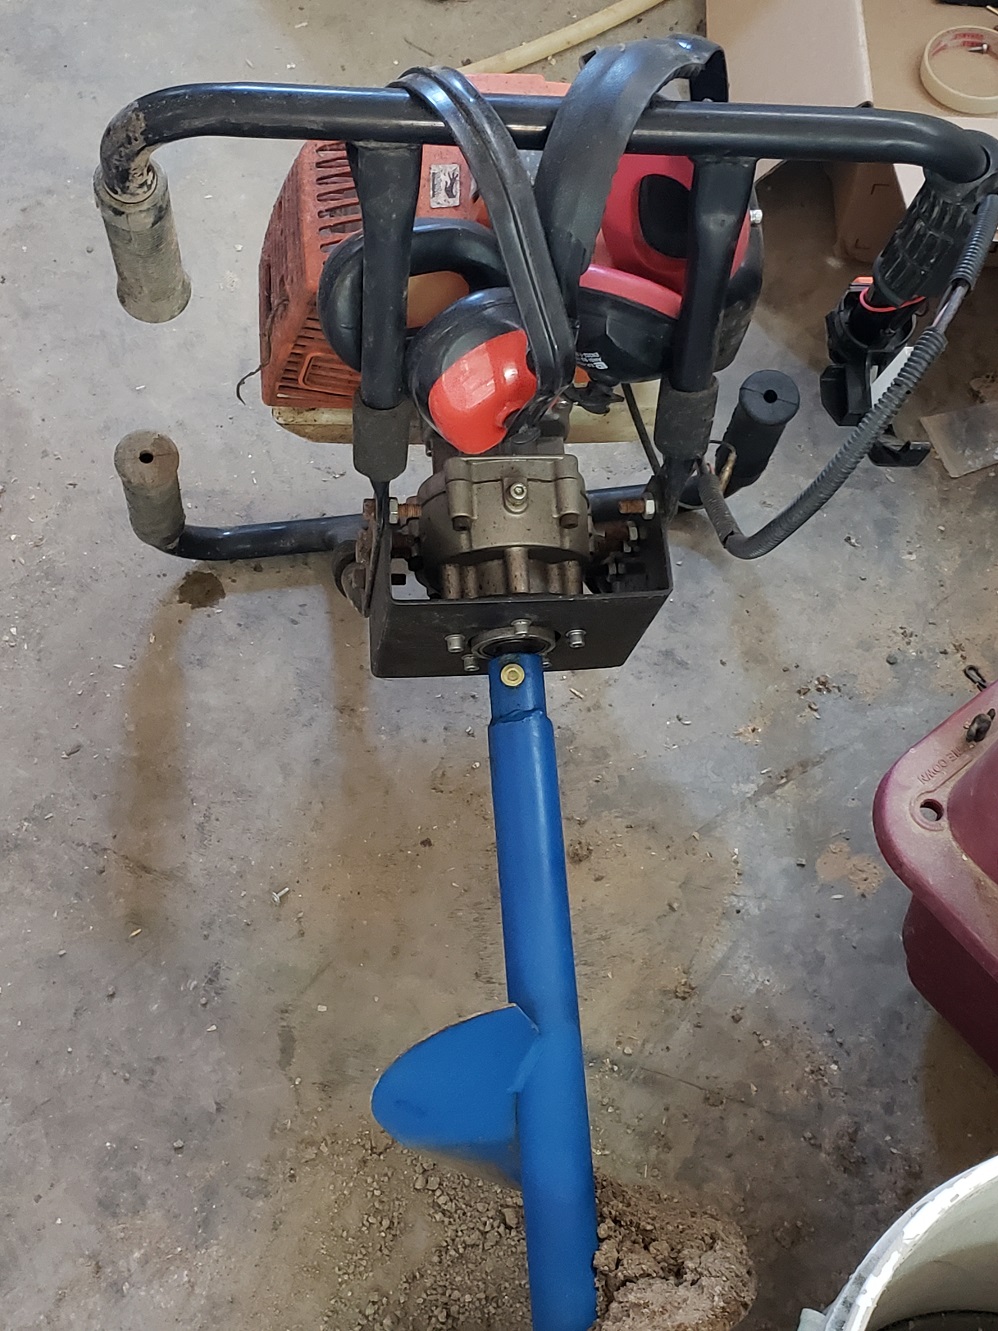
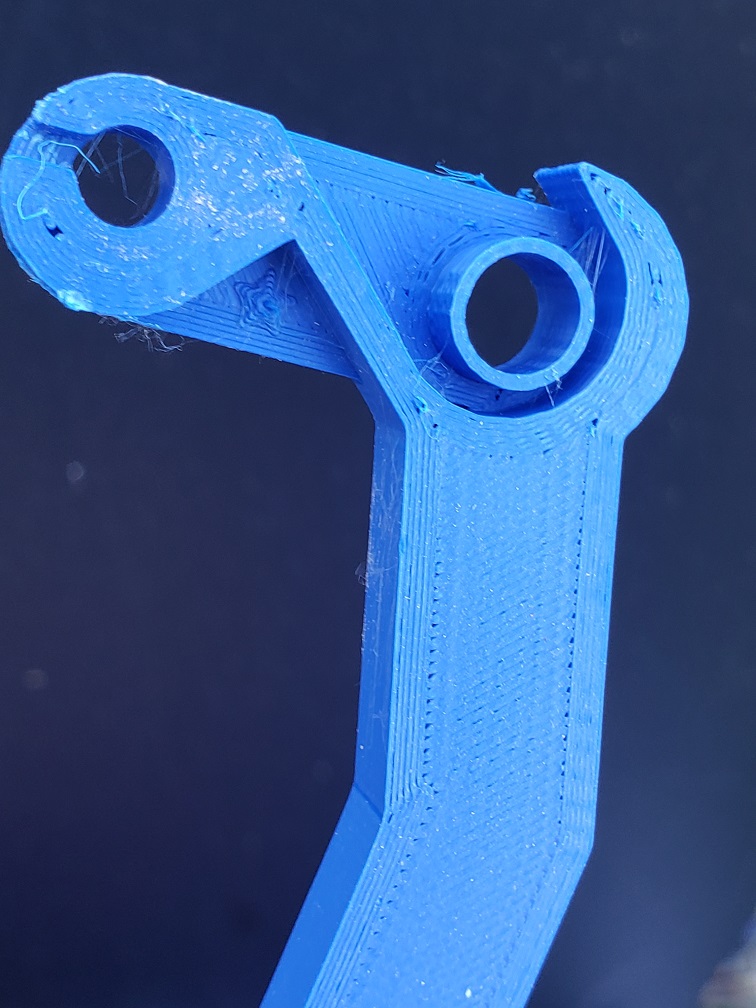
I have a Chinese earth auger. Worked great until the throttle broke off, then it was useless. I printed it with PETG as my first attempt with PLA was too brittle. The PETG one has survived so far; several holes 1m/3ft holes with lots of vibration and jerking.
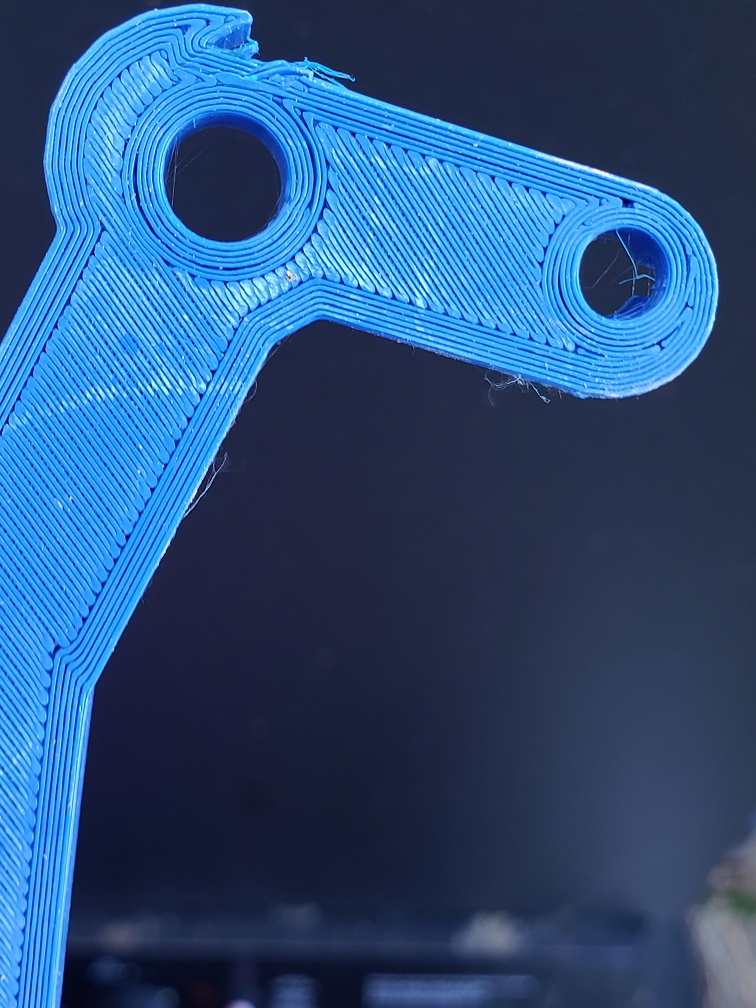
I printed it at 0.15mm quality to keep everything smooth, but I suspect I could have gone with a lower resolution and it still would have worked. But since it was a one off, not production, and because it was my first attempt at anything like this, I preferred to err on the quality even if it took a little longer to print.
Funny thing - I had tried, but not very hard, to get a replacement part for a few years, but the importer said they only imported full machines. I have been planning for about 2 years to throw the auger into the garbage, but never got around to it because I hated to throw such a nice tool away when it cost so much and only had the one broken part.
hen I got the 3d printer for business marketing purposes, I was trying to decide what to do as my first 'real' product when an employee mentioned this auger sitting in a dusty corner. This one little part saved the auger - which cost more than the 3D printer. So the 3D printer has paid for itself with the very first real print; The only thing I had printed before was the z-adjustment (many times) and the 'prusa' logo. It took about 5 attempts to get PLA z-adjusted, and about 50 attempts to get the z and other first level adjustments before I successfully printed this first PETG part. But I would have had to do that for whatever the 1st PETG would have been.
For now, I used tinkercad, a children's tool I know - but I have never worked with any 3D software, but the other two I tried left me sitting there with no idea where to start, tinkercad allowed me to create everything for this in about 45 minutes including the time to learn tinkercad.
I started with one third of the broken throttle from which to build the design, fortunately it was the 'detailed' part - the part where the spring and cable sat. The rest of it had been lost years ago when it broke. Burried in some hole, if so, I know which one - the LAST hole it dug. I went through two iterations - the first one, PLA, bound up and also broke pretty quickly, the second one I shaped better and used PETG and 'success' was the result.
This work is licensed under a Creative Commons (4.0 International License): Attribution—Noncommercial—Share Alike